SOLIDWORKS Design Tables allow you to build configurations of parts or assemblies by setting parameters in an embedded Microsoft Excel worksheet. Configurations can represent different versions of a design within a single part file and manage those variations in your part geometry. In this article, we will show you some techniques for displaying your configured parts in a drawing.
Two of our favorite ways to create configurations and access the table information is to either use Excel or SOLIDWORKS Configurations. Watch the video below to learn about the benefits of each approach:
Creating Design Tables with Excel
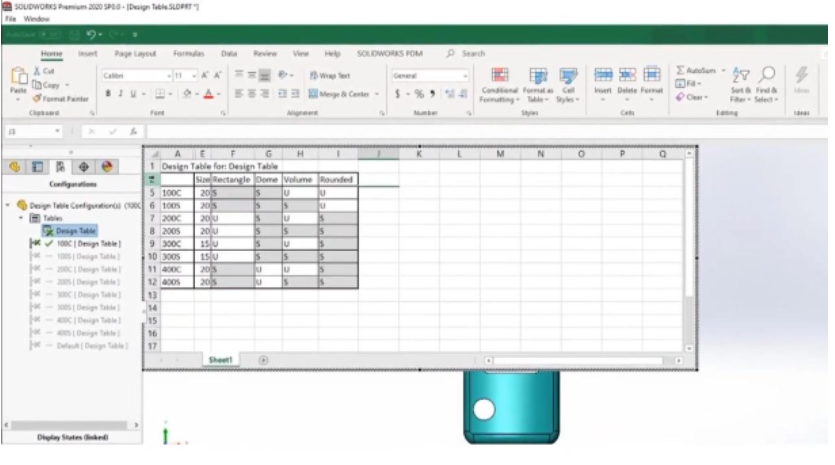
A main feature in Excel is that you can auto-generate, and if you know what you’re doing, you can create them manually. Generally, I like to let SOLIDWORKS decide what it wants to do. Next, I can choose to have it linked to the 3D model or not. You can also choose whether you want it to update when changes are made to the 3D model. The reason why I might use Excel is that it simply helps to clarify information. I can hide a row or add a column, and maybe add color to clarify things. In the annotation toolbar, you’ll find the Design Table.

SOLIDWORKS Configurations
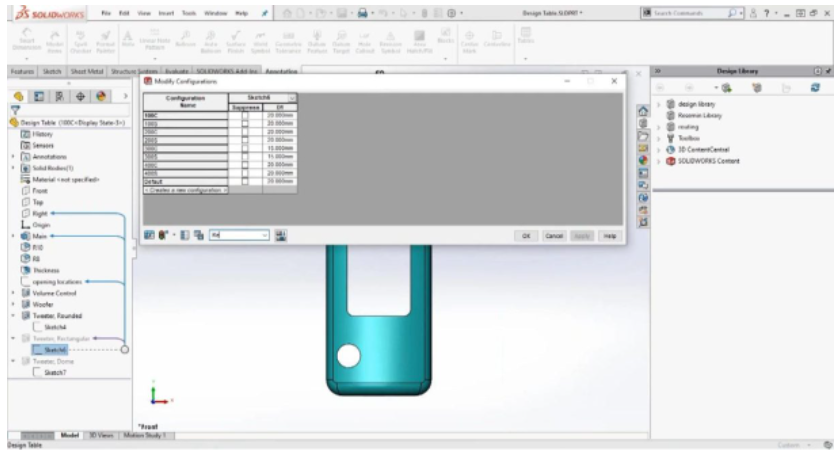
SOLIDWORKS Configurations are found by right-clicking on a feature, or a dimension, and locating Configure Feature or Configure Dimension. Once I click on one of these, I am presented with a table that I can add or remove. You’ll also notice that I can modify configurations. All of this allows me to dive deeper into my configurations. The benefit of using SOLIDWORKS Configurations is that in Excel, I can only have one table, and with SOLIDWORKS, I can have multiple tables so that I can very quickly double-click and make changes if I need to make changes and move forward. The negative – can’t bring this into a SOLIDWORKS Drawing file. So, if you need to have the table on a SOLIDWORKS Drawing information, using that one is not the correct one to use.

