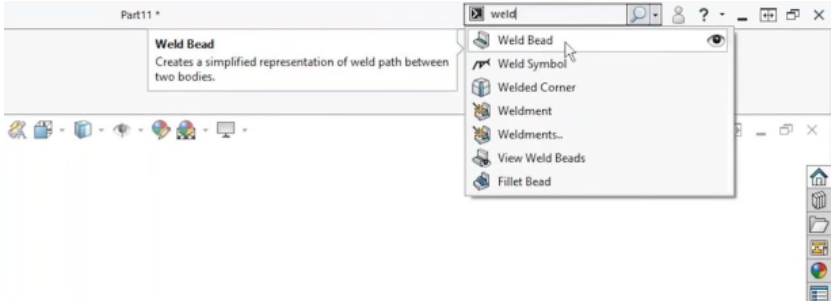
Finding the Weld Bead Feature
To start, a shortcut and a little tip; if you press the “S” key and look in the top-right corner, you’ll see that SOLIDWORKS highlights the search bar for you so you can automatically type in the command you want. You can type in the search bar and it’ll automatically take you to that function or tool. If you click the eyeball icon in the search bar, SOLIDWORKS will take the mouse cursor and show you where it is on the screen. Very neat and efficient.
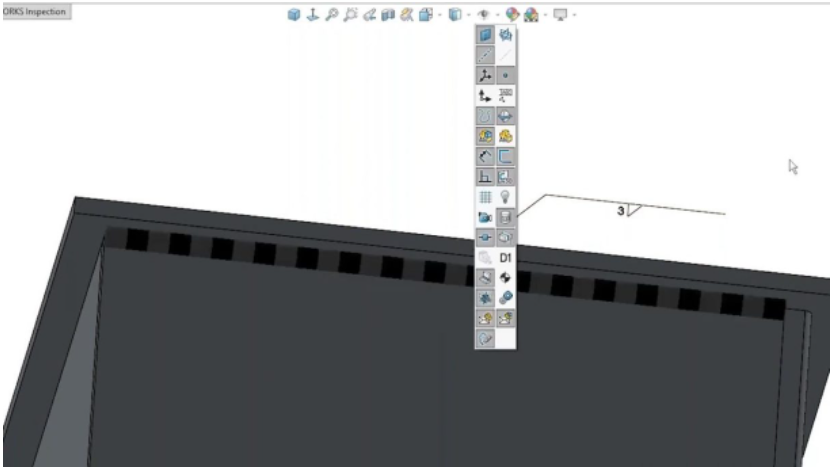
SOLIDWORKS Weld Bead
Once the SOLIDWORKS Weld Bead is selected, there are a few parameters to set. The first is to define a weld path and the size of your bead. This does not model anything but rather adds a callout. To see the bead, you must turn on the Annotation feature. This is a texture or annotation that you can turn on to show a weld at this location, but there’s not actually anything modeled at this location. It’s just a great way to show that there will be a weld at this location
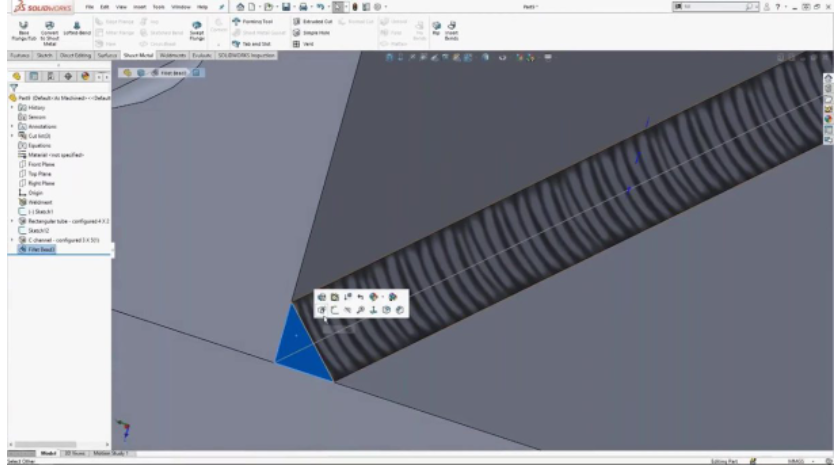
SOLIDWORKS Fillet Bead
On the other hand, we have the SOLIDWORKS Fillet Bead command. The difference with this weld is that you are modeling a weld into the design. It is a rare scenario where it’s required to take the weld into account as part of the design, but if we zoom in, you can see that the weld is in fact a modeled body, and this will affect the mass properties. So, most of the time, you will use weld beads because using Fillet Beads will affect the performance of your design. If adding to a large portion of your part, it can really slow down your part by creating huge files. But there are certain scenarios, as with everything, where you may have to use Fillet Beads.